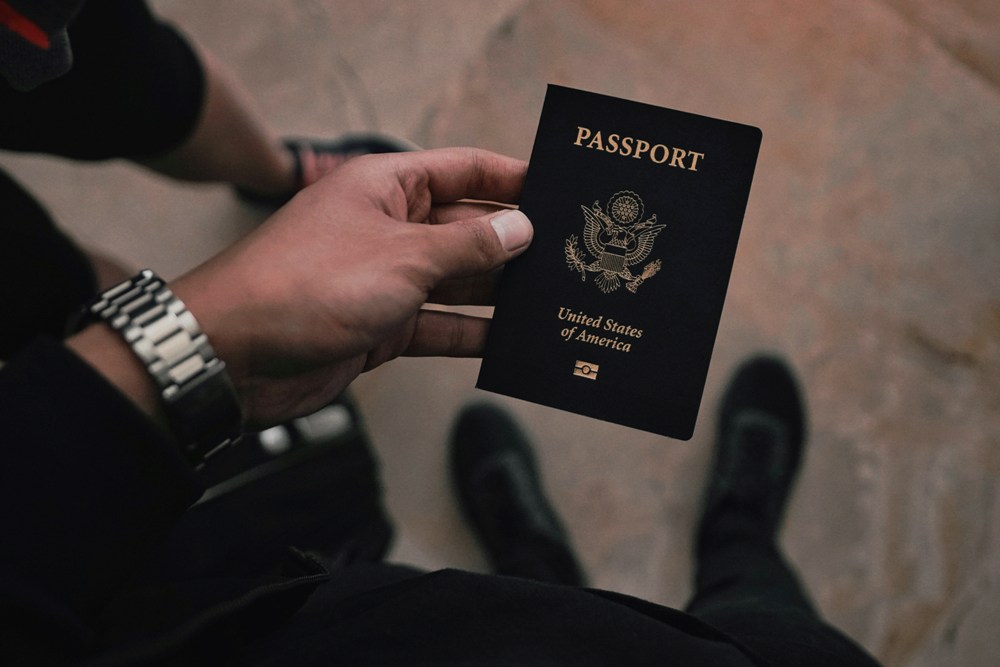
One of the key aspects of a passport or visa application for traveling is your photo. It has to meet all the specifications and, preferably, look good. However, professional photographers and passport photo booths can charge a significant amount for a few printed photos. By taking your own photo, you can eliminate this expense altogether. All you need is a decent camera or even a smartphone and proper lighting to meet the passport photo specifications. Besides, nobody knows your face better than you do. By taking your own passport photo, you have complete control over the outcome, ensuring that you look your best. So, you're planning to travel soon and want to take a DIY passport photo? Discover five useful tips for shooting, editing, and printing your pictures including all the ins and outs from lighting tricks to editing the passport photo background.
Pose for Passport Photos
The first thing you should think about is your pose and face expression. Start by finding a neutral background, such as a plain white or light-colored wall. Stand against it, facing the camera directly with a relaxed, natural expression. You should keep your face straight and ensure your head is neither tilted nor turned. You also need to remove any accessories like hats or glasses that could obstruct your face or create a glare.
Fix the Lighting
Lighting plays a crucial role in capturing a clear and well-exposed passport photo. If you take a picture with poor lighting, you won't be able to improve the quality even with the best photo editor. Natural light is often the best option for taking pictures at home, as it provides even illumination without causing harsh shadows. For example, you can position yourself near a window during daylight hours. This way, you'll avoid direct sunlight that can create unwanted highlights and shadows. If natural light is not available, then you can use soft, diffused artificial lighting to achieve a similar effect. Experiment with different light sources and angles to find the optimal lighting for your passport photo.
Focus the Camera
To avoid blurry images, you should adjust the camera focus while shooting. If you are using a smartphone, tap on the screen to focus on your face before capturing your photo. As for a digital camera, you have to adjust the focal point to the center of the frame. By the way, you can try using a tripod or put your camera on a stable surface to prevent any camera shake. Then, take multiple shots to increase the chances of capturing a perfectly focused passport photo.
Edit the Image
With a handy program, you can easily turn a regular photo into a passport or visa photo. You can use popular photo editors, but you'll make your pictures quicker with dedicated software for editing ID photos. For starters, when you're preparing a passport photo, a background change might be needed. For most travel documents, you'll need a white or off-white background. So, if you don't have a blank wall or backdrop at your disposal, you can add it to your picture with no hassle. After you change the background of the passport photo, you might also need to sharpen your picture and correct colors to improve the overall quality. If your image has the red eye effect, make sure to fix it as well. But don't apply any filters or effects to your photo—such pictures are usually not accepted.
Print Your Photo
When your passport photo is ready, you need to correctly print it out to meet the specifications. In some cases, only the digital photo is required. But if you need a printed picture, you should use the right paper, such as matte or glossy paper. Moreover, you need to be sure the image preserves the quality and colors after being printed, so adjust the printer settings if necessary.
Creating a photo for your travel documents is a no-brainer. As long as you follow our tips, you can effortlessly make top-notch pictures. To learn more about preparing your images like a pro, read this detailed guide on how to change passport photo background. Then, you'll be able to create your photos without leaving the comfort of your home. Now you can get started. Find a suitable location, turn on your camera, and take your shot. Then launch the photo editor you like to change passport photo background and improve the quality. Finally, print your images and submit your application!
EDITORIAL POLICY
The Flash List is dedicated to providing trustworthy editorial content by maintaining strict ethical standards, journalistic integrity, and credible professionalism regardless of any remuneration as working media. The Flash List is not affiliated with third-party companies mentioned and makes no endorsement or guarantee expressed or implied. The preceding article, which contains affiliated link(s) for which compensation was received, is intended for informational reference only and does not constitute advice of any kind. Moreover, a qualified professional should be consulted regarding any lifestyle consideration, medical treatment, or monetary transaction, etc. Content is published in accordance with USFTC regulations and terms and conditions.
MORE ON THE FLASH LIST
